
I developed this guide for the 2003-2008 Forester (SG) after doing an install in my brother’s 2006 Forester X (seen here). Credit to dwhenry on the Subaru forums for the pictures and most of the writeup.
Much of this works across chassis, so I did not define specific years in the writeup.
First off, here is an electronic “How-To” from an online vendor. It should help get you started:
http://carstereoadapters.com/wp-content/uploads/2012/01/03-08-Forester-Master-Sheet.pdf
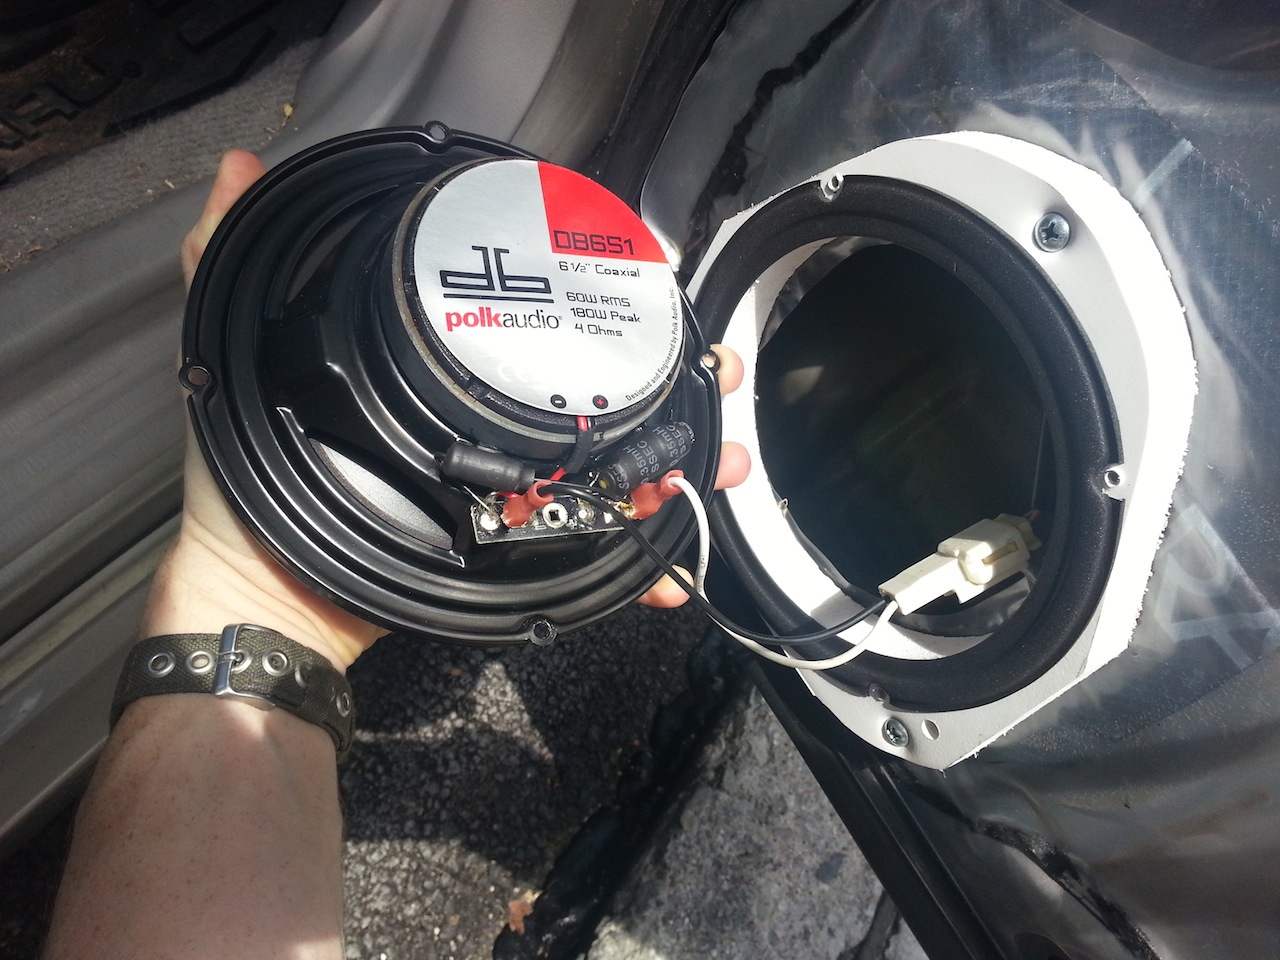
One of the curious things about our Subies is that most standard speakers are too deep to fit properly in the door when the windows are down. As a result, spacers are typically included (or charged extra), but are often made of shoddy plastic and are usually ‘universal’ type fits that are supposed to fit everything by end up fitting nothing well. Without the spacer, the metal bracket on the bottom of the window glass will sometimes get attracted to the magnet of the speaker and can bend things out of place. This obviously is a bad thing.
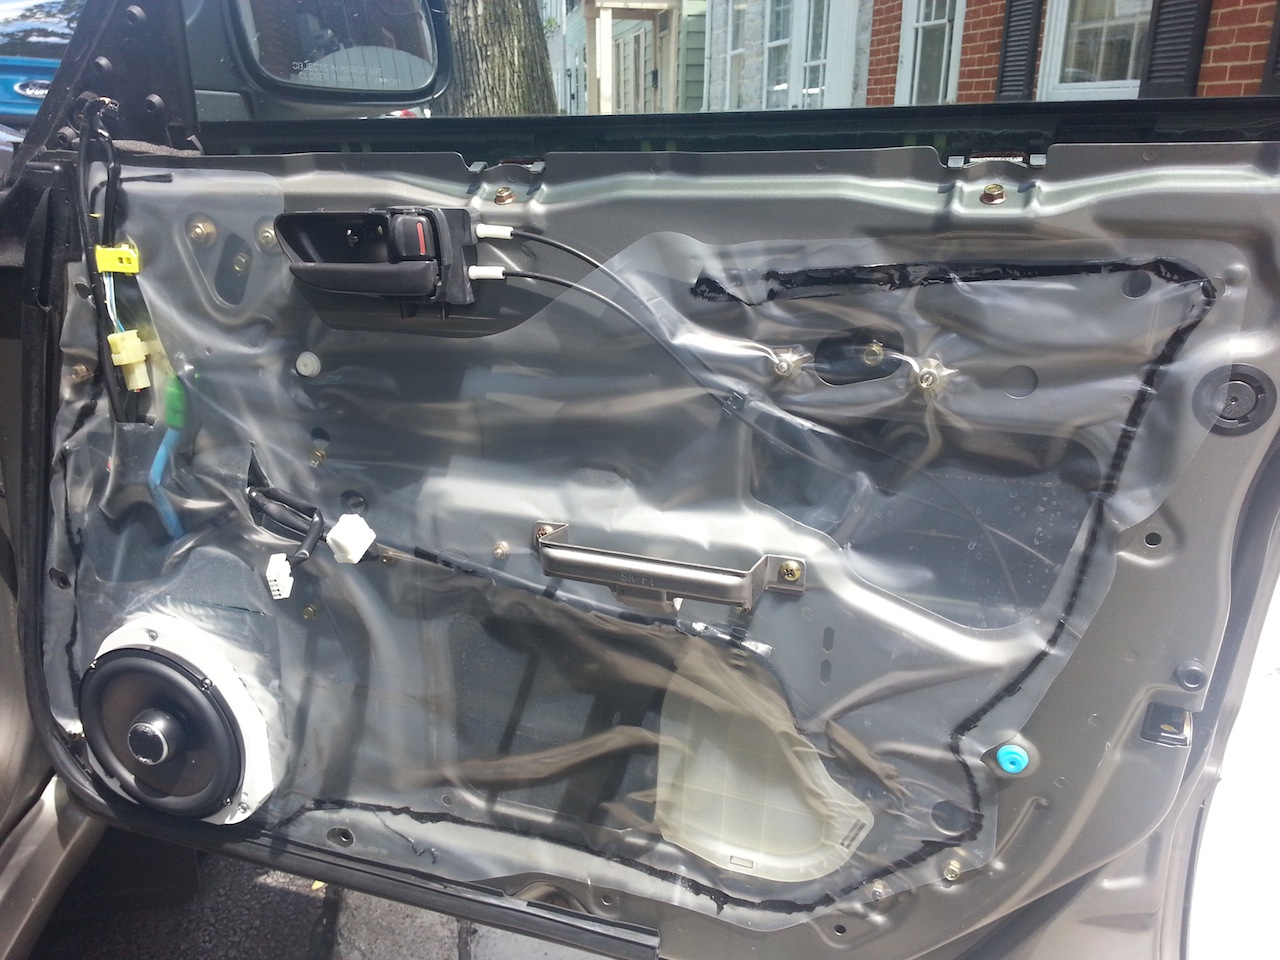
Onwards to the install (note: I had already installed the speakers, these images are just going back and capturing the process when I had the door apart earlier):
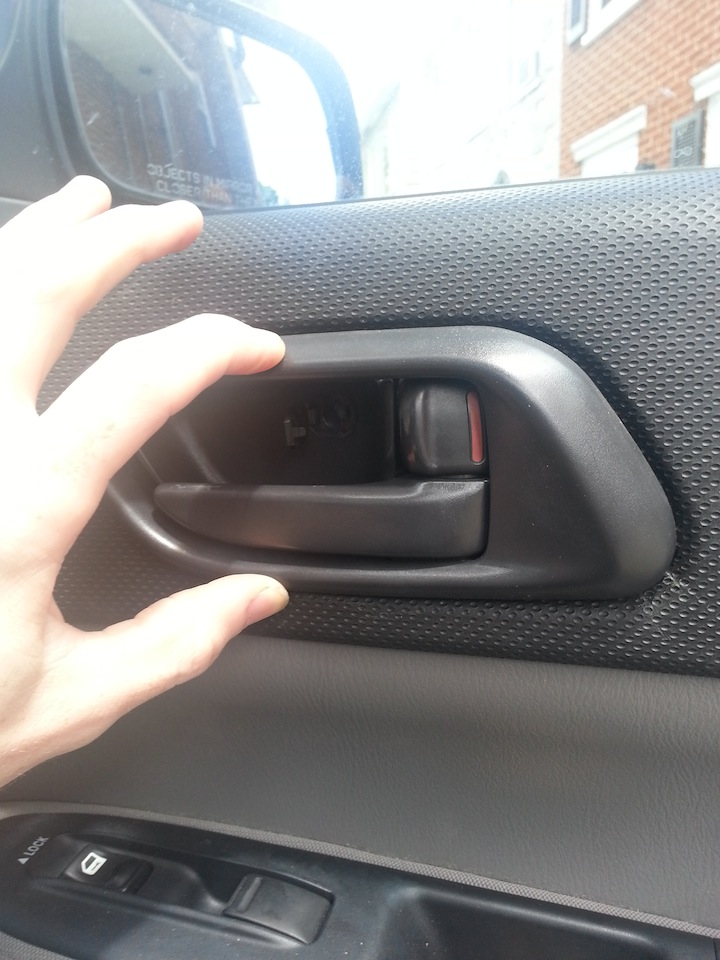
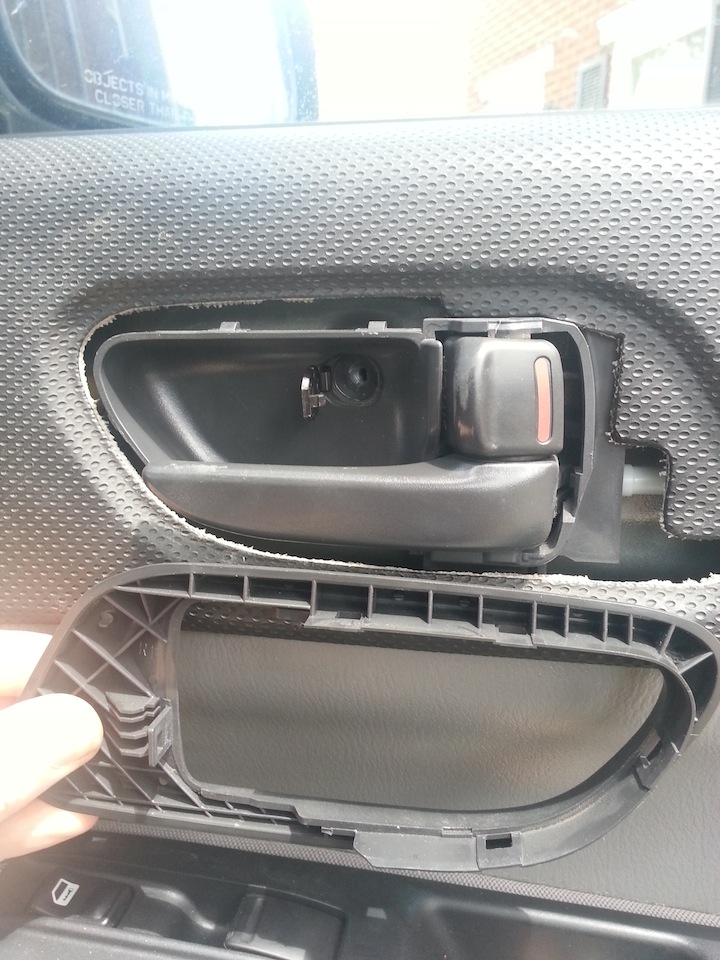
Pull off the black frame around the door handle, there are tabs that hook into the door. The best method is to use plastic panel remover tools (check Harbor Freight for a quality cheap set):
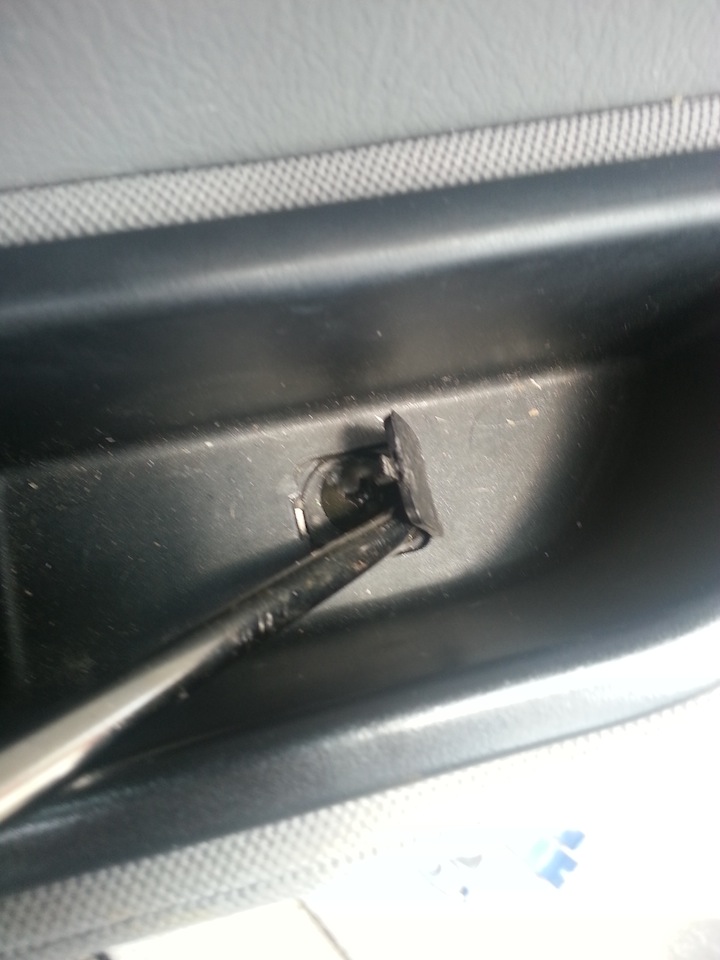
Uncover the screw in the bottom of the armrest and remove it (philips head screw):
Using a panelling tool, pry up the plastic part of the armrest (I’ve found it best to work from the back to the front, as the rear-most portion of the plastic has no tab holding it down)

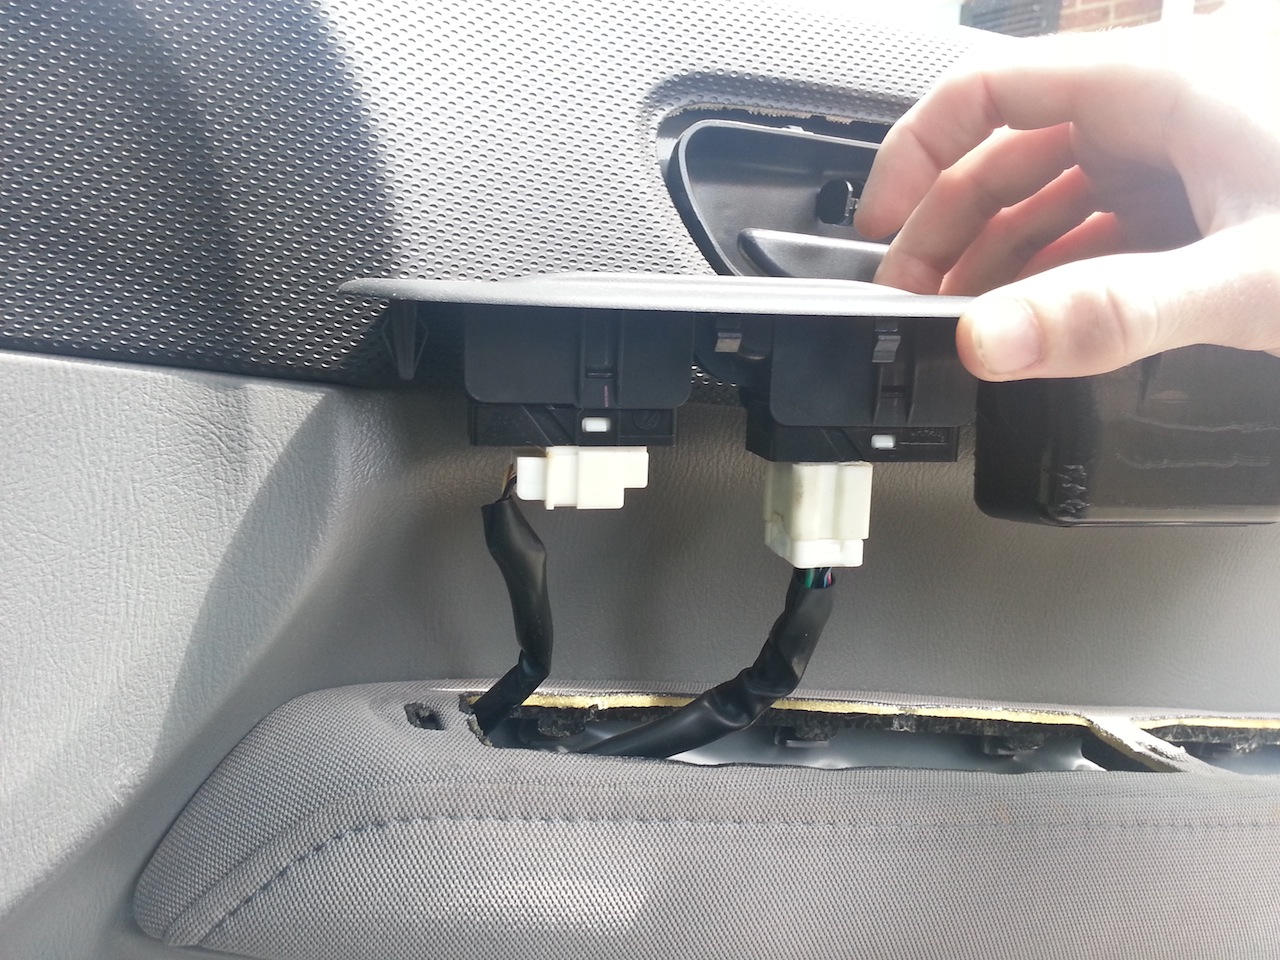
Unhook the power window and lock cables:

Using your fingers, pry off the sail (this assumes you have no component tweeters in the door sail) and remove the wire from the holder in the sail:
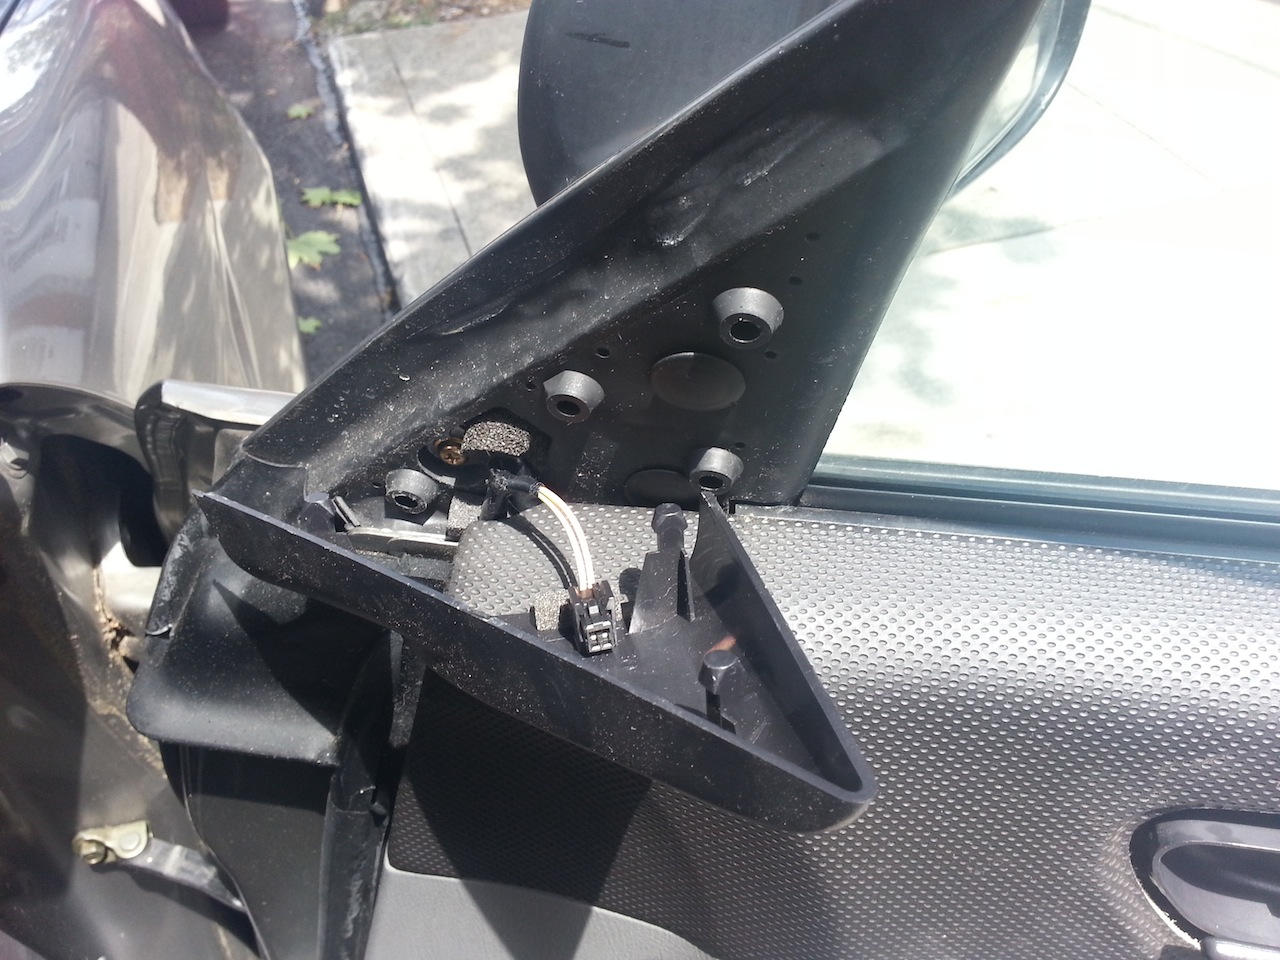
Using the panelling tool, I typically start with the lower outside corner of the door panel and pop out the tabs on the bottom. The I work up both sides simultaneously and once all the tabs have been popped out, slide the now-free door panel up and set aside.
Set the speaker in the spacer and mark where the holes on the speaker appear on the spacer so you can pre-drill. Use a small bit, pre-drill holes to allow for the speaker installation into the spacer.
At this point, it might be a good time to use some rudimentary deadening before attaching the spacer to the door, just to enhance the sound some. To attach the spacer to the door, use the larger pre-drilled holes that were already in the spacer to line up with the holes in the door and attach the spacer to the door.
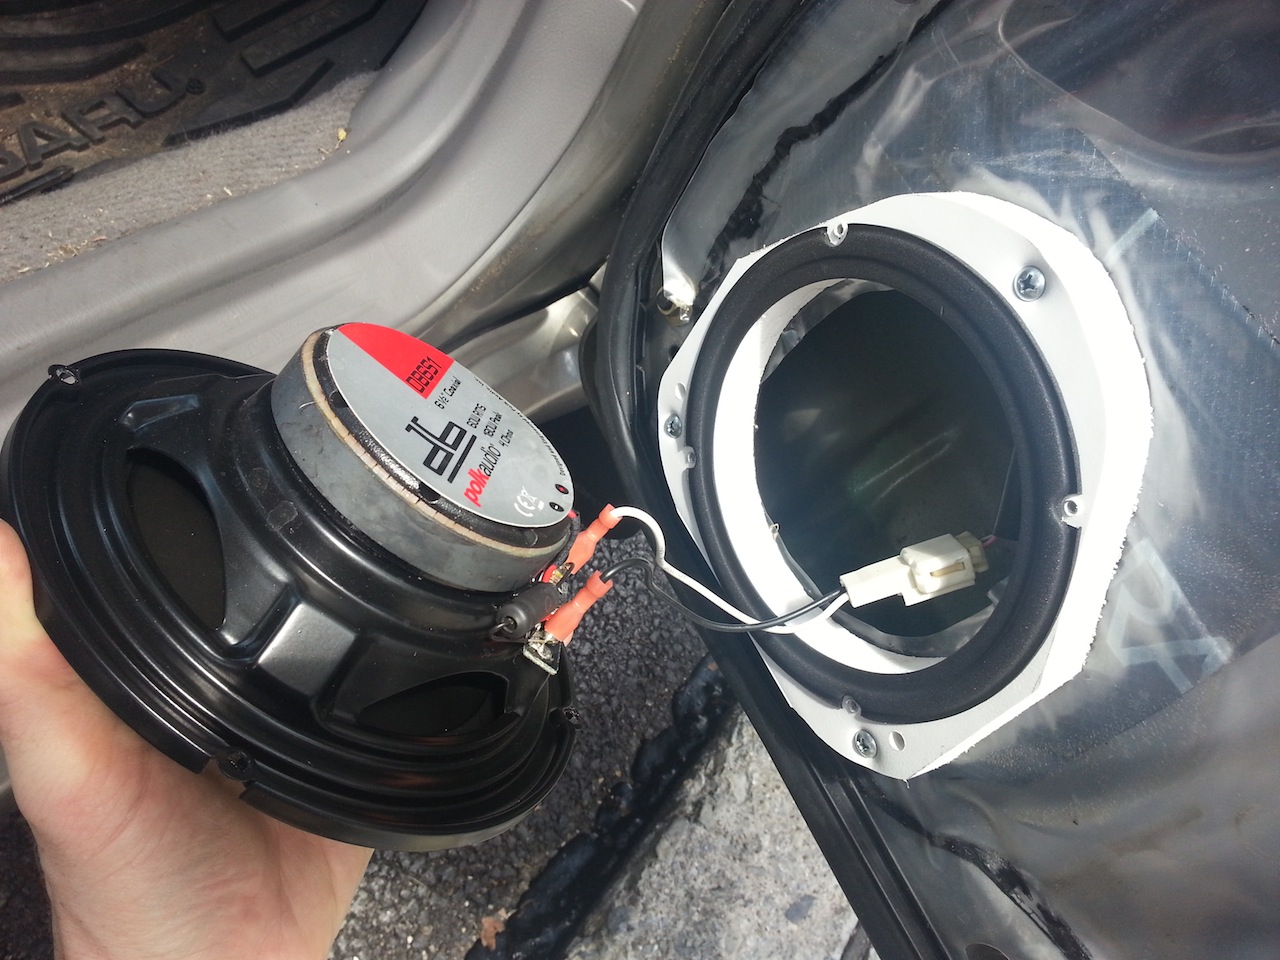
Connect the new speaker using the wiring adapter and then attach to the spacer which is attached to the door:
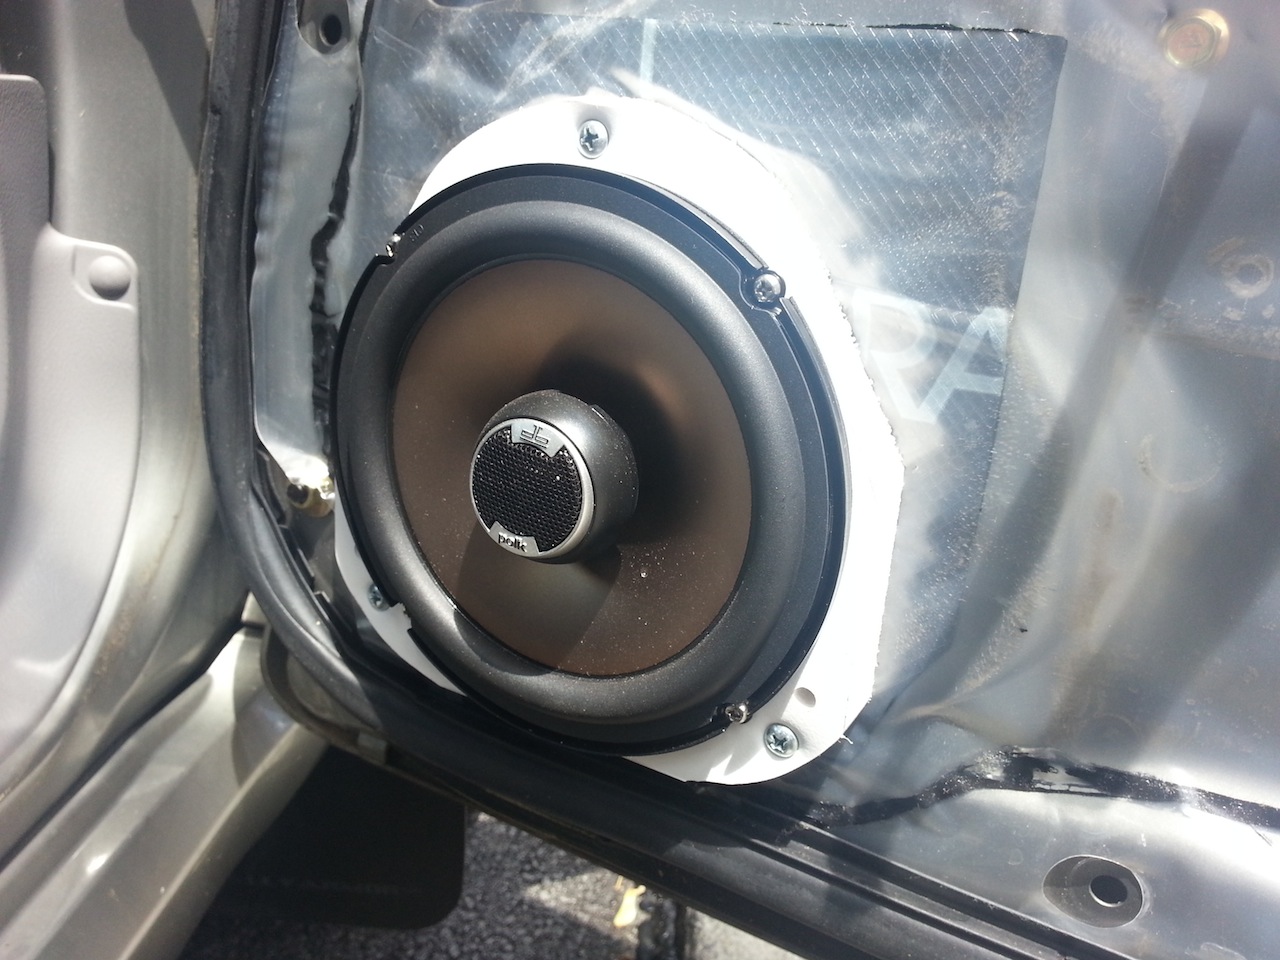
Test the sound and then reassemble the door, enjoying the wonder new noises emanating from your Fozzy. Additionally, you might want to test to ensure that the window properly lowers all the way without hitting the speaker magnet.
Finally, glamor shot:
Vibration Control and Deadening:
Subarus in general seem to have a terrible vibration issue with component (parts, not just speakers) in the doors, particularly behind the door panel. This has been covered time and time again, so I won’t rehash.
It is amazing what can be done with very little foam weatherstripping tape. Truck cap/camper top tape is also a good way to go for this.
No matter what method(s) you employ for noise control, the key to a good application is good surface adherence and a clean, dry, grease/oil-free surface to which it will be applied. I use Windex Vinegar as a cleaner, but you can get any good automotive degreaser to clean things up. I also try to wipe things down with alcohol (or even white vinegar) right before I apply the noise control.
For more information, please see the Deadening section of this website, including some vehicle-specific examples:
http://www.subaruaudio.net/tools-and-how-to/deadening/
Wiring:
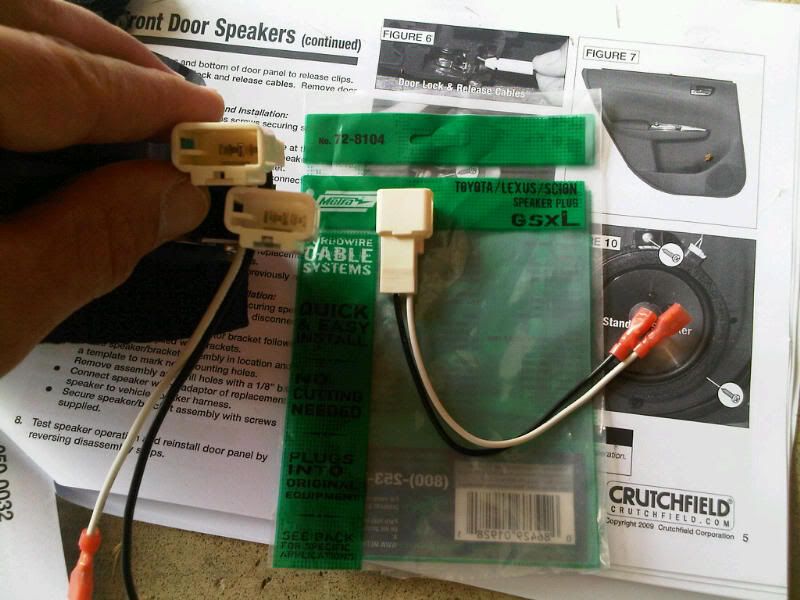
You will need to either run new wire from your amplifier/headunit to your speakers, or you can use the stock wiring (definitely fine for running speakers off of the HU).
If you re-use the stock wiring, you will need an adapter to get from your stock connector to the terminals on your speakers. You can get them from Crutchfield, BestBuy, etc.
According to crutchfield, the front of his 2006 requires the adapters below:
Metra 72-8104
Toyota Speaker Harnesses Speaker adapter plugs at Crutchfield.com
If you decide to add an amp, you’ll need to add wiring from the amp to the speakers in the door, wither direct with a 2-wire traditional speaker wire (for coaxials or if you have components with the crossover in the door) or a 4-wire setup if you put the crossover in the passenger compartment. In-wall speaker wire is good for this. You want a 16/4 wire or a 12/4 wire, both of which are 4 insulated wires in a single sleeve. 16 gauge is smaller than 12 gauge, FYI.
Large zipties are good for snaking the wire through the stock wire boot between the kickpanels and the door.