For the “new” Subaru Crosstrek XV, much of the door disassembly instructions have been similar to the 2012 Impreza (non-WRX/STi), though the door panels are slightly different. The 2012+ Impreza info can be found here, or scroll down for an XV-specific How-To.
http://www.subaruaudio.net/installations/2012-impreza-non-wrxsti/
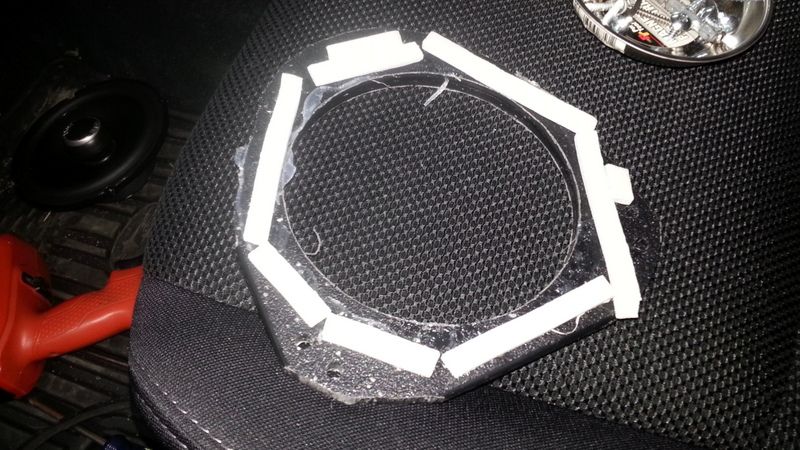
For that reason, the speaker spacers or adapters that I have made for the XV have been a 1/2″ HDPE material as opposed to the 3/4″ PVC that I use for other adapters. I have found a reliable source for the 1/2″ material, so anyone needing adapters can drop me a line.: patrickhenry@gmail.com
After working with some Crosstrek XV owners, I received the following write-up regarding the installation process.
Credit to slanidracula from http://www.subaruxvforum.com for the writeup using the directions from this site.
Tools:
Cordless drill (for faster removal of screws)
Philips screwdriver
Standard screwdriver
1/8th” Drill bit
Parts:
Polk DB651 Speakers (2 pair)
Metra 72-8104 Speaker Connectors (2 sets)
Speaker Spacers
Foam Tape
#10 1.25″ Sheet Metal Screws
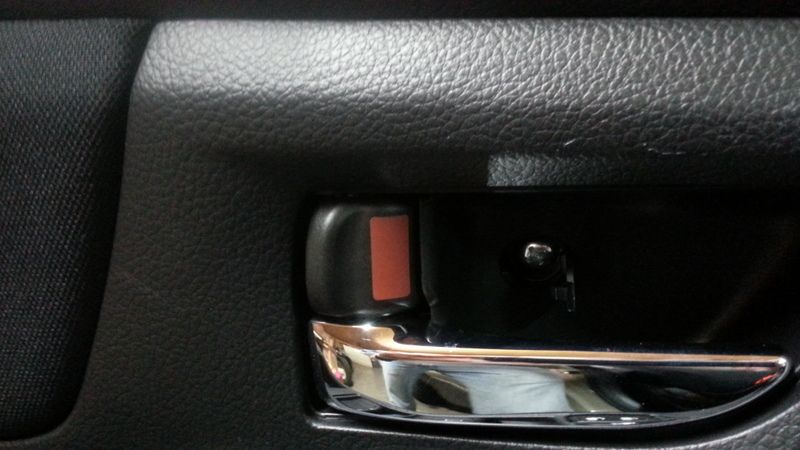
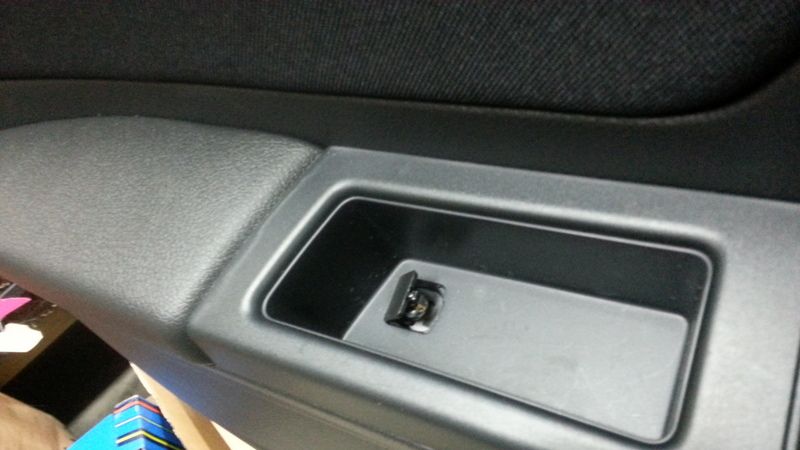
Flip open the small access flap and remove the screw.
Flip up the small flap and remove the screw.
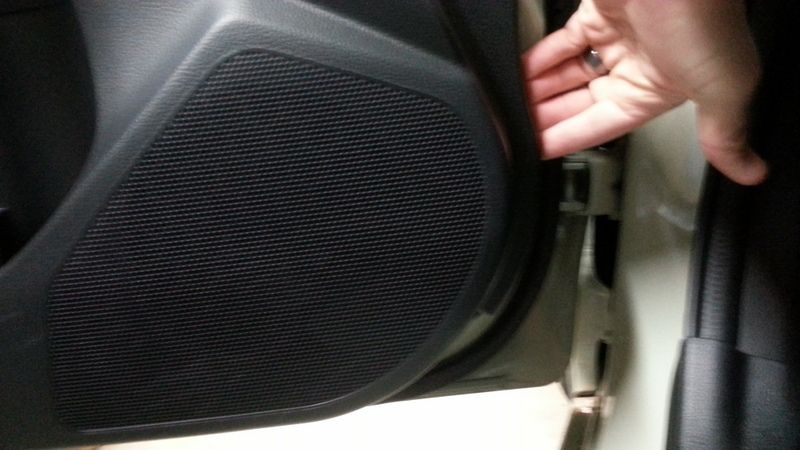
I didn’t use a tool. Just grab the forward-most bottom corner by the speaker where you can grab the panel and slowly but surely begin pulling away the panel from the door. I went from front to rear along the bottom, then up the sides. Lift up once all the clips have been pulled away from the door.
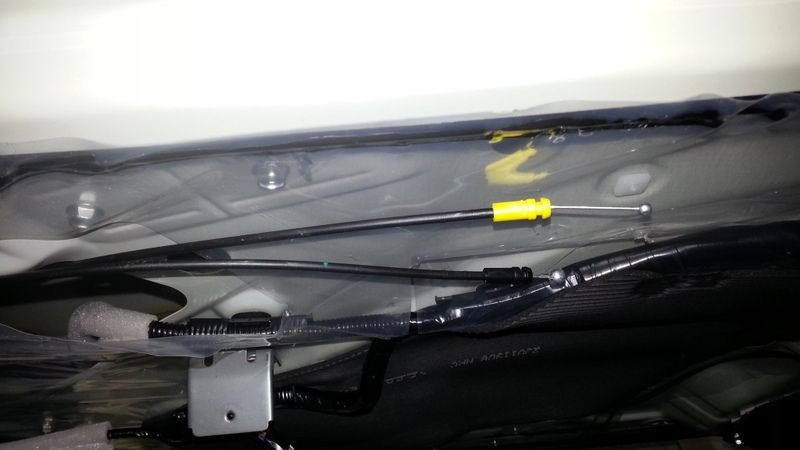
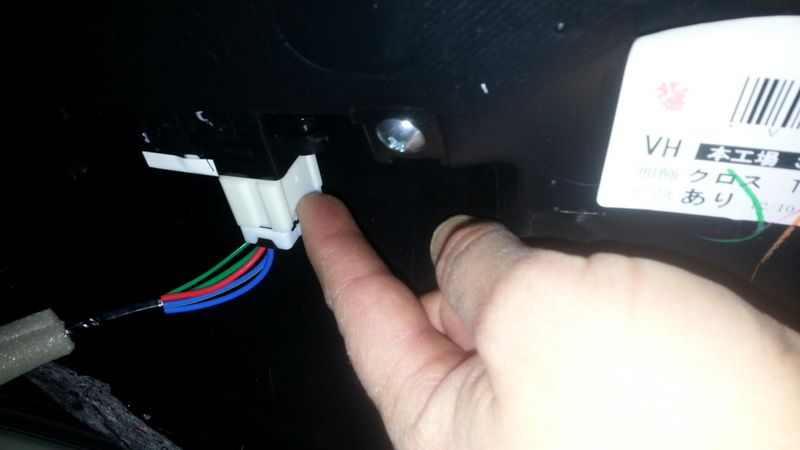
Unclip the door cables, and window connector.
Remove any white plastic clips left in the door and re-insert them in the panel. Carefully set panel aside.
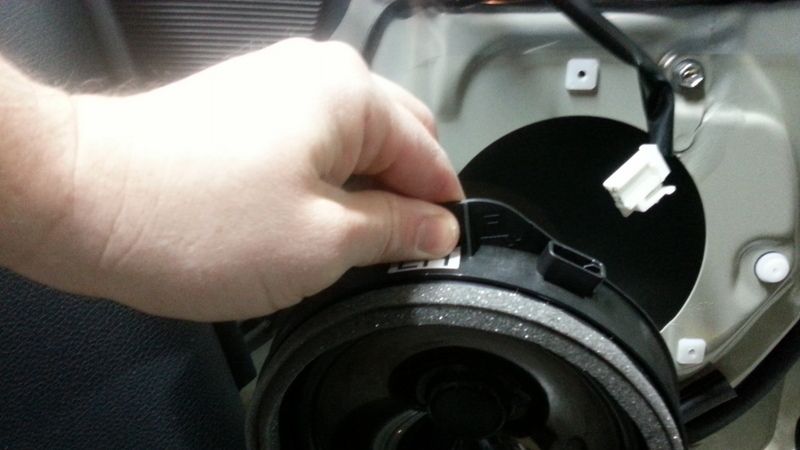
Unclip the undersized, lightweight factory speaker and remove the three screws holding it to the door.
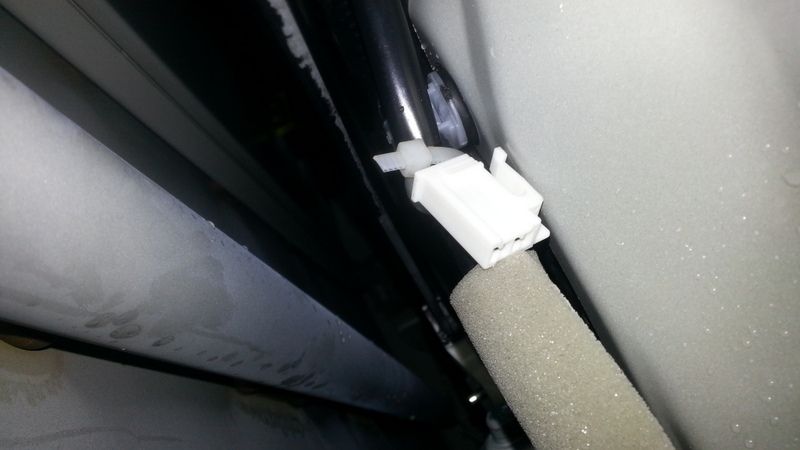
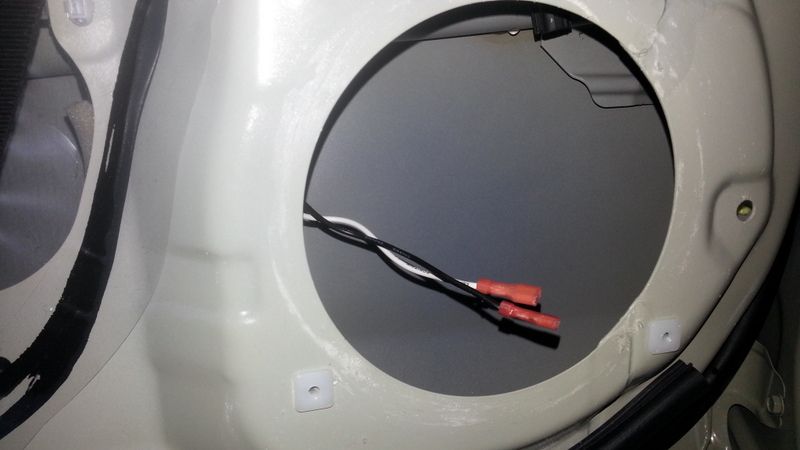
I chose to re-route the speaker wire from the panel side of the interior of the door to the window side of the interior of the door because the Polk speakers connect on the rear of the speaker instead of the outside of the speaker like the factory speakers. This is easy, just feed it down and in, from where it separates from the power loom. Reach your hand up through the speaker hole and grab it. The white female harness should terminate right where there is a plastic cable tie holding the power loom to the interior of the door. I cable tied the re-routed connector to the other wire loom that is on the interior. Image below is taken from inside the speaker hole.
This is only necessary for the fronts as the rears are already routed to the interior.
I chose to go ahead and hook up the Metra connector first because of the re-routing of the factory harness.
Give your setup a dry run and test fit your setup to verify the speakers, spacers, and your XV are working in unison.
If it looks good, clean the door and spacer with alcohol if you so choose, and then layer the back side of the spacer with foam tape to assist in vibration dampening.
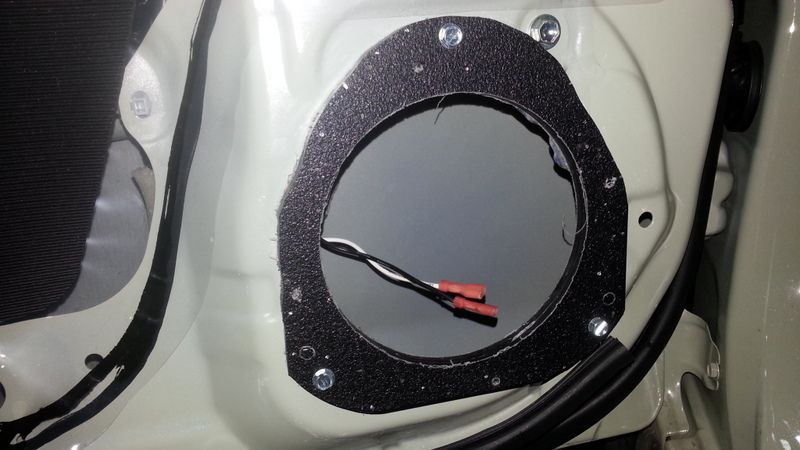
Remove any sticker backing and attach the spacer to the door using 3 #10 screws per door. Use the typical star pattern to prevent uneven mounting.
Connect the positive and negative speaker wires to the mounting posts.
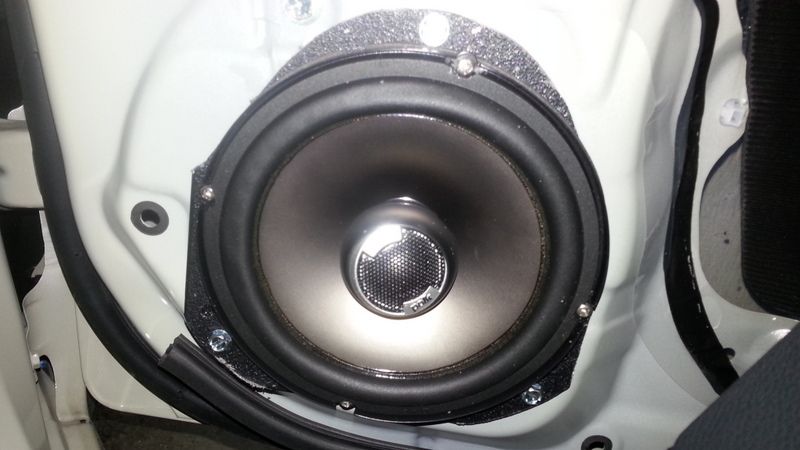
Utilizing the thin foam gasket between the speaker and spacer, if included with your new speakers. Attach the speaker to the spacer with the included hardware. I chose to pilot drill the holes. I rotated the front speakers about 20 degrees to allow for maximum coverage of the screws on the edge of the spacers.
Front speaker installed:
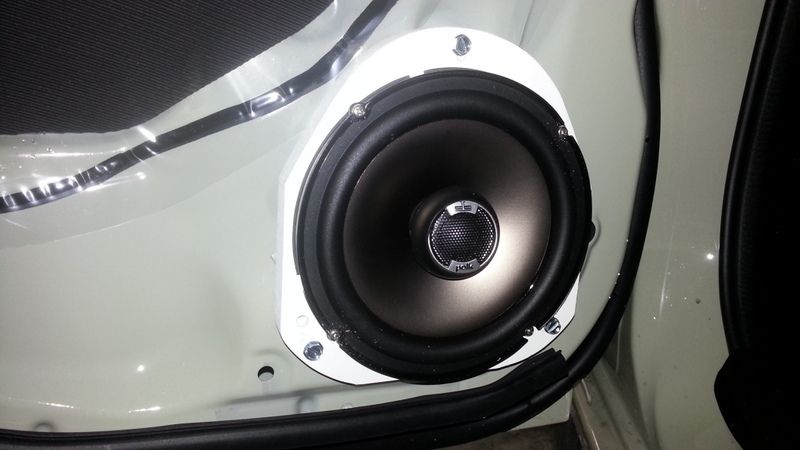
Rear speaker installed:
Turn on some tunes to test out the speaker.
Orient the tweeter, if adjustable, to your preferred target.
_______________________________________________________
I hope that the above information is helpful. Below are some additional pictures of adapters for the front doors, installed:

